Creating Your First Skill Tree
This section guides you through the process of creating the skill tree data asset and designing its structure in the editor.
Step 1: The Skill Tree Asset
Everything starts with the Skill Tree asset itself.
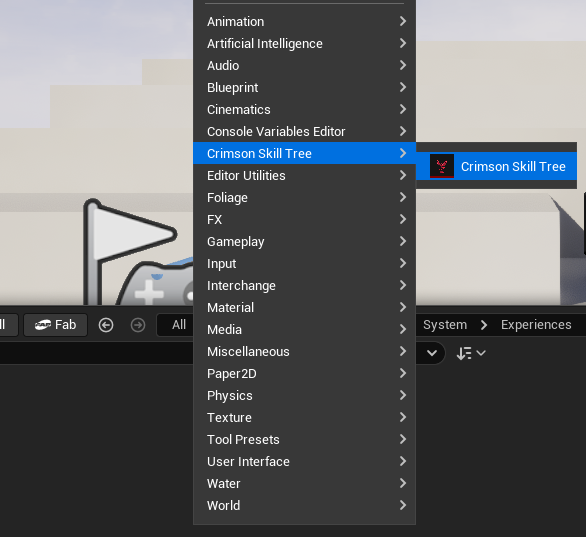
- In the Content Browser, right-click and navigate to
Crimson Skill Tree>Crimson Skill Tree. - In the dialog that appears, find and select CrimsonSkillTree from the list.
- Name your new asset something descriptive, like
CST_Player_CoreSkills.
Step 2: Configuring the Skill Tree Asset
After creating the Skill Tree asset, you can select it in the Content Browser to access its global settings in the Details panel. These settings control the tree's appearance, editor behavior, and metadata.
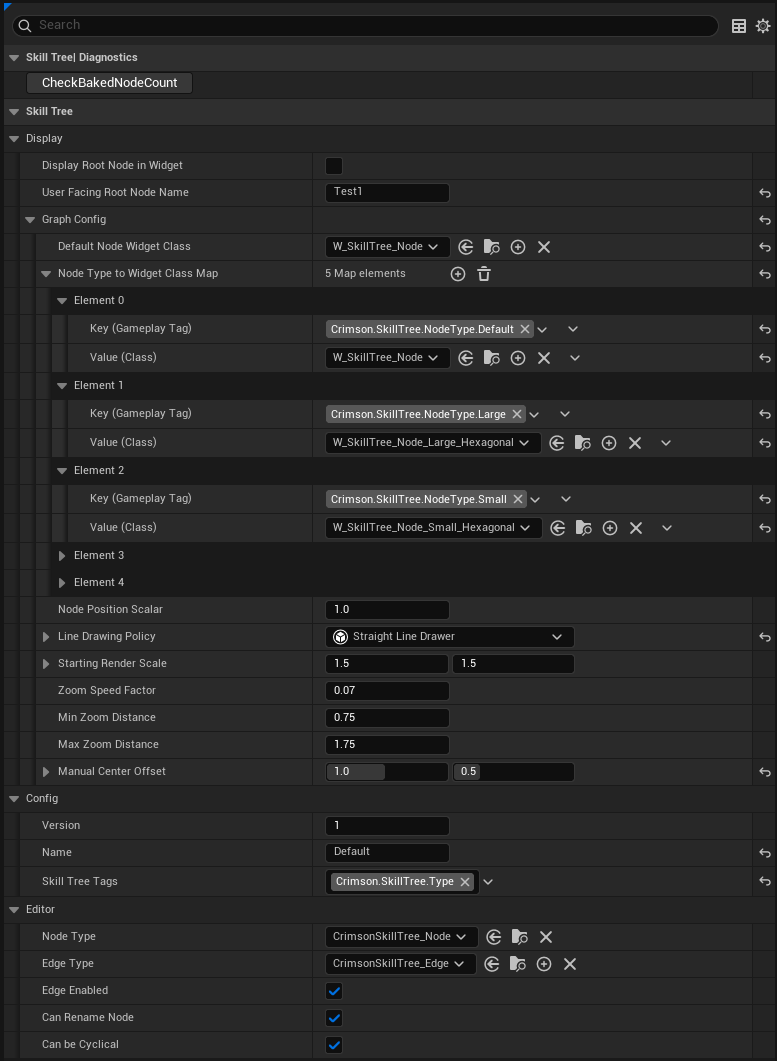
Graph Config
This is the most critical section for customizing the visual presentation of your skill tree in the UI.
- Node Type to Widget Class Map: This map is essential for visual variety. It allows you to associate a specific Gameplay Tag with a unique Node Widget Blueprint. For example, you can make "small" nodes look different from "large" or "default" nodes by assigning them different tags and corresponding widget classes. The
Default Node Widget Classis used for any node types not found in this map. - Line Drawing Policy: Defines how the connecting lines between nodes are rendered. The plugin comes with options like
Straight Line Drawer. - Camera & Zoom Controls: Settings like
Starting Render Scale,Zoom Speed Factor, andMin/Max Zoom Distancecontrol the user's view of the skill tree graph, allowing you to fine-tune the camera behavior.
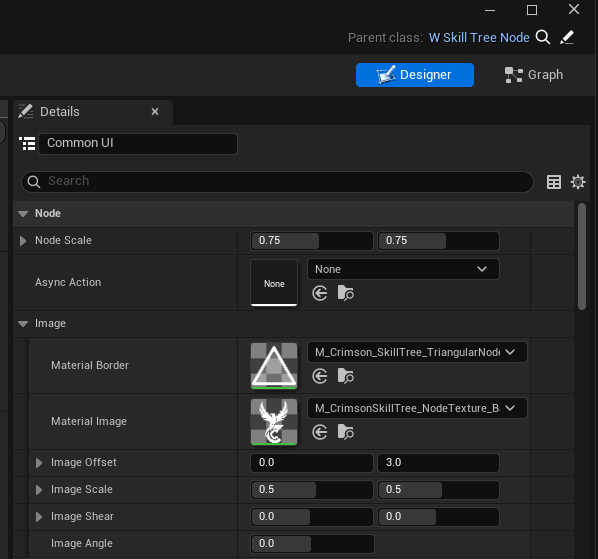
You can create your own Node Visuals by creating a child of CrimsonSkillTreeWidget_Node.h and binding the required variables.
If you want to use the already provided W_SkillTree_Node and just change its look, create a child blueprint and override the provided values.
You can create your own Line Drawing Policy by creating a child of CrimsonSkillTreeWidget_LineDrawingPolicyBase.h and overriding the respective functions

Editor Settings
These settings customize the behavior of the graph editor specifically for this asset.
- Node Type / Edge Type: Here you can set the default classes to be used when you create a new node or connection within the Skill Tree editor.
- Booleans: Toggles like
Can Rename NodeandCan be Cyclicallet you enforce design rules, such as preventing circular dependencies in the tree.
Config & Display
These sections hold metadata and minor display options for the asset.
- Skill Tree Tags: Assign Gameplay Tags to the asset itself for organizational purposes, allowing you to easily find or categorize certain types of trees.
- Display Root Node in Widget: A boolean that controls whether the root node (which is typically an invisible starting point) should be rendered in the UI. You can also provide a
User Facing Root Node Name.
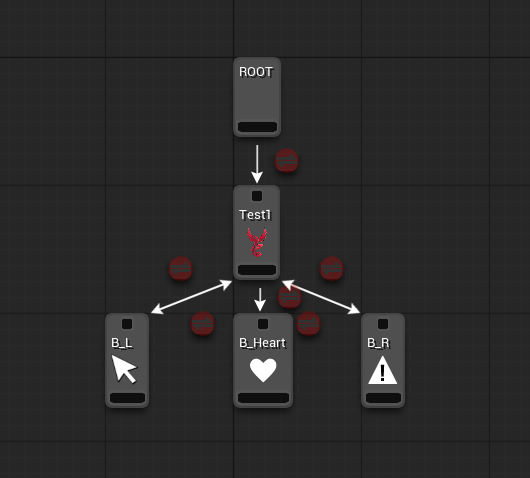
Step 3: Using the Skill Tree Editor
Double-click your new Skill Tree asset to open the custom graph editor.
- Root Node: The first node that is automatically created is the
RootNode. This is the starting point of the tree. It's always active and has no parents. - Creating Nodes: Right-click anywhere on the graph to open a context menu. You can create a Base Node (
CrimsonSkillTree_Node) or a Visual Node (a decorative comment box). - Connecting Nodes: Nodes have input and output pins. Drag from a parent node's output pin to a child node's input pin to create a connection. The system automatically sets the parent-child relationship.
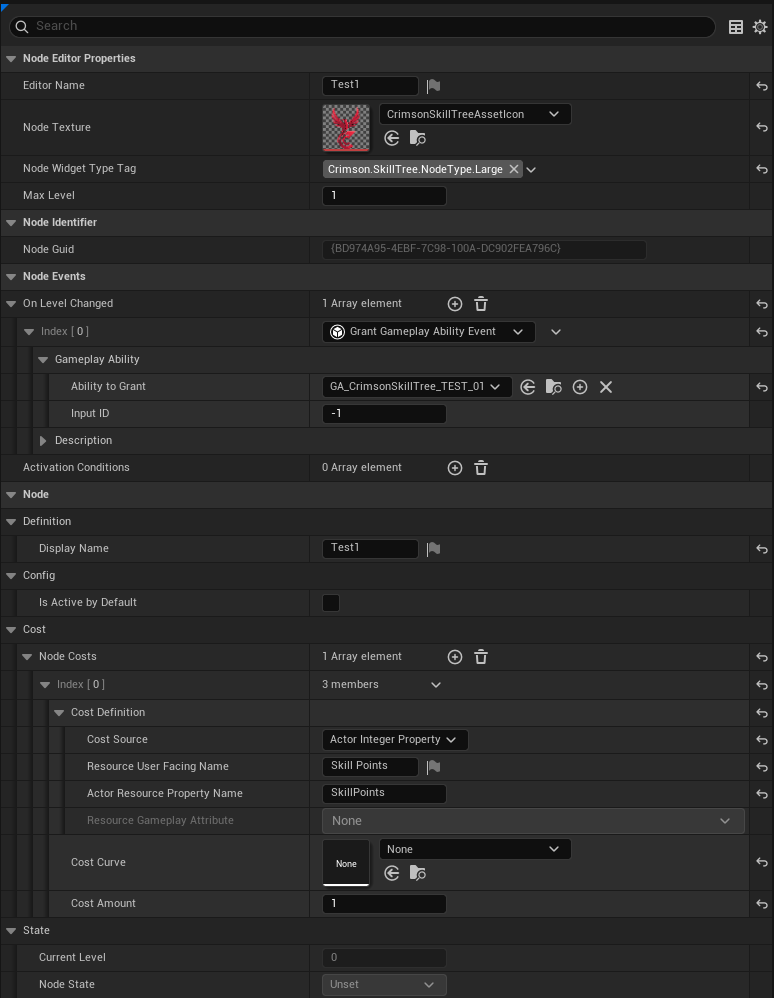
Step 4: Configuring a Node
Click on a node in the graph to see its properties in the Details panel. Here are the key settings:
- EditorName: The name of the node that shows on the Editor Graph.
- DisplayName: The name of the node that shows on In-Game. (e.g., "Fireball").
- MaxLevel: The maximum number of times a player can invest in this skill.
- Node Costs: An array where you define the cost (e.g., 1 Skill Point) for each level of the node.
- Activation Conditions: An array where you add the rules that must be met to unlock this node.
- On Level Changed Events: An array where you add the gameplay effects that happen when this node is activated or leveled up.
We will go over advanced usages on Node Cost, Activation Condition and Level Changed Events in their respective sections of this documentation.